Selecting robotic arm bearings starts with load type, stiffness, friction, and duty cycle. The right choice reduces backlash, improves repeatability, and extends service life under shock, vibration, and frequent reversals.
Video Guide: Use this as a general, structured selection workflow, then map each step to your robot joint loads, speed, and environment.
What is bearings for robotic arms?
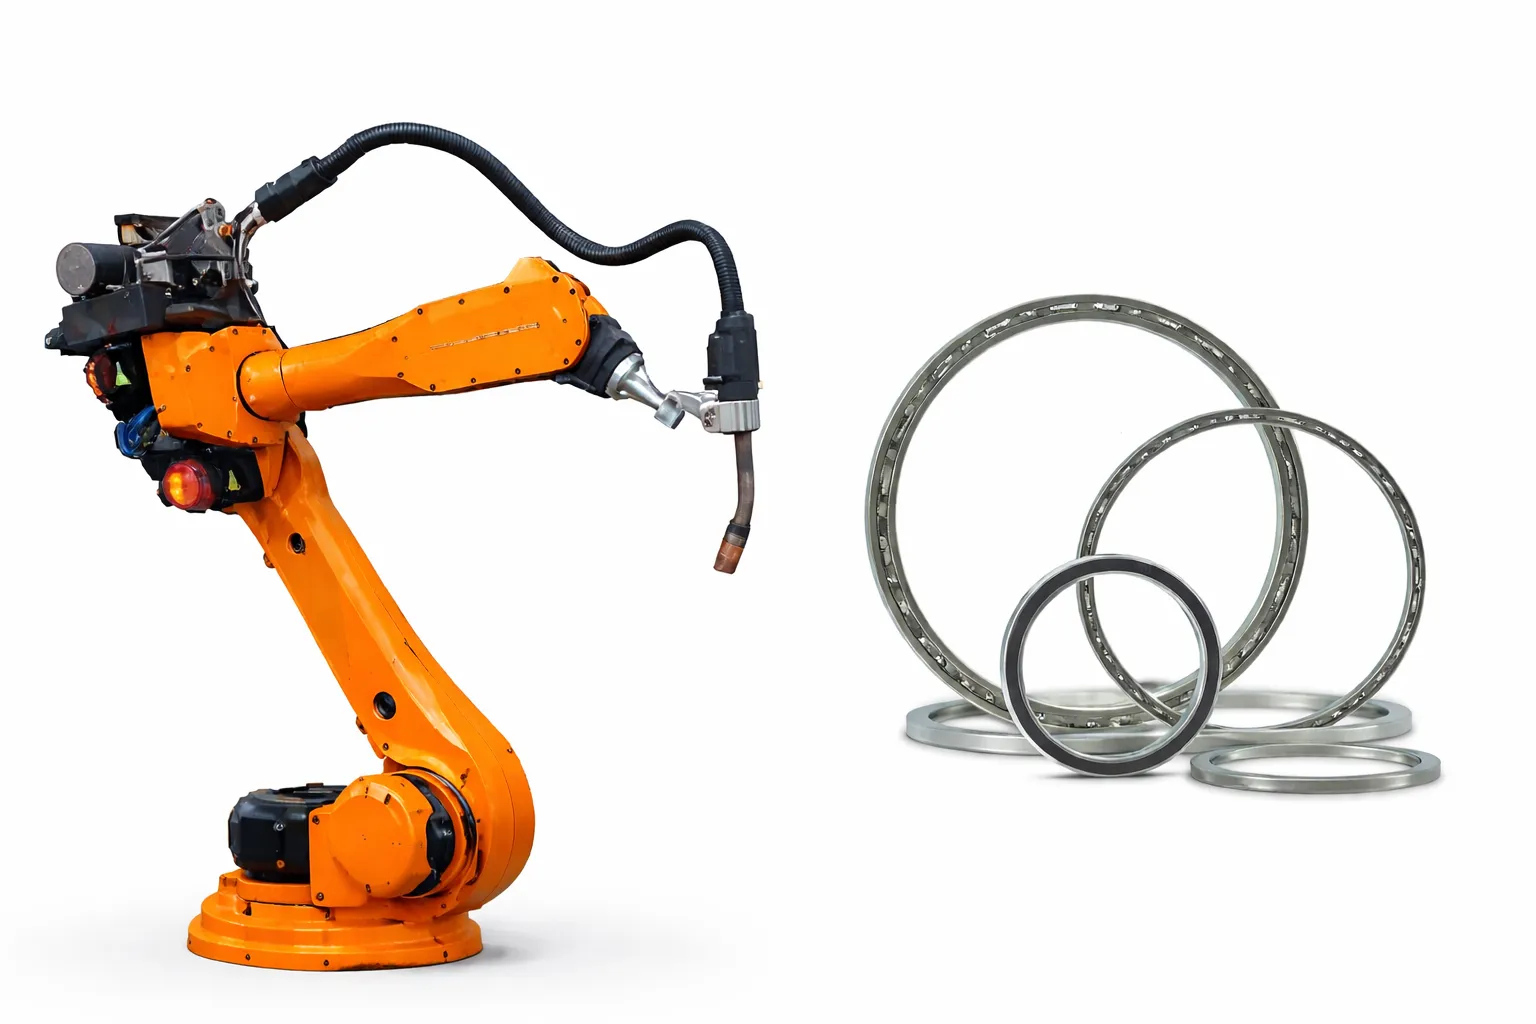
Robotic arm bearings support rotating or oscillating joints while controlling friction, runout, and deflection. They directly affect payload capacity, accuracy, vibration, and backlash, making them key to joint performance.
Video Guide: This explains why bearings matter in robotics and automation, linking bearing choice to accuracy, life, and uptime.
Where they sit in a robotic arm and what they do
In robotic arms, bearings are typically found at the base rotation, shoulder and elbow joints, wrist axes, idler pulleys, and any shaft-supported transmission elements (belts, gears, harmonic drives).
Key functions in a robot joint include:
- Load support: radial, axial (thrust), and moment (overhung) loads
- Motion quality: low friction, smoothness, low vibration/noise
- Accuracy: controlled clearance/preload and stiffness to limit deflection
- Durability: sealing, lubrication retention, contamination resistance
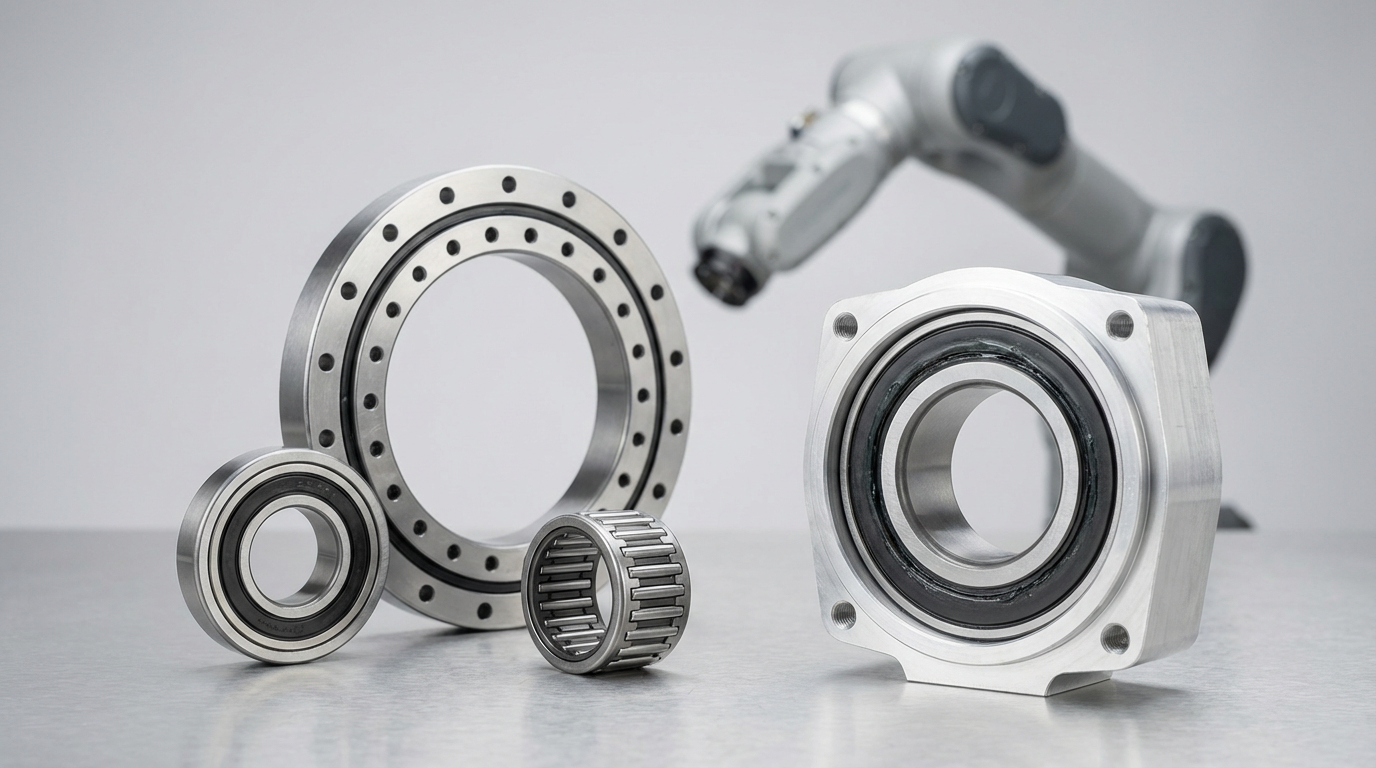
Common bearing families used in robotic arms:
- Deep groove ball bearings: general purpose, moderate axial/radial loads
- Angular contact ball bearings: higher axial load capacity and stiffness; preloadable
- Crossed roller bearings: very high stiffness for compact joints with moment loads
- Tapered roller bearings: high combined loads; robust but larger friction/space
- Needle bearings: high radial load in tight radial space (shaft/housing precision critical)
Haron Bearing Pro Tip: I treat robot bearings as “accuracy components.” If you don’t budget stiffness and preload from day one, you’ll chase repeatability problems in software that are fundamentally mechanical.
How Does bearings for robotic arms Work?
Bearings reduce sliding friction through rolling contact between balls/rollers and raceways. In robotic arms, proper clearance or preload controls stiffness, heat, torque, and backlash during frequent reversals and micro-motions.
Video Guide: Use this to understand rotary bearing integration, load paths, and what mounting details influence bearing performance.
Load paths, preload, and why robots are “hard” on bearings
Robotic arms often combine these stressors:
- High moment loads: long links create leverage on joint bearings
- Reversing motion: constant acceleration/deceleration and direction changes
- Micro-oscillation: small-angle dithering can starve raceways of lubricant film
- Shock loads: pick-and-place impacts, emergency stops, collisions
A practical way to think about bearing behavior in joints:
- External loads enter the joint (payload + arm inertia + gearbox reaction).
- Those loads resolve into radial/axial/moment components at the bearing set.
- Rolling elements share the load over a contact angle (ball) or line contact (roller).
- Clearance or preload determines stiffness and torque:
- More preload → higher stiffness, lower backlash, higher torque/heat
- More clearance → lower torque, lower heat, more deflection/backlash
- Seals and lubrication keep the film intact and protect against dust, coolant, or washdown.
Haron Bearing Pro Tip: In robot joints, I always validate bearing torque at operating preload and temperature—not just “catalog torque.” Small preload changes can noticeably alter motor sizing and thermal margin.
What is the 2 1 bearing rule?
The “2:1 bearing rule” means the bearing span should be about twice the overhung load distance. This helps reduce moment deflection and improve stiffness, especially in robotic arms with long links or cantilevered tools.
Video Guide: This shows a practical robot arm base approach where bearing placement and span are central to stiffness and smooth rotation.
Applying the rule to improve stiffness and bearing life
Use the rule when you have an overhung load, such as a pulley, gear, or arm link applying force away from the bearing support.
A practical checklist:
- Identify the overhung distance (L): from the closest bearing center to the load application point.
- Set a target bearing span (S): aim for S ≈ 2L as a starting point.
- Check packaging limits: robot joints are compact; adjust with better bearing type/preload if span is constrained.
- Validate deflection and tilt: ensure joint tilt stays within gear/encoder tolerances.
- Confirm load sharing: two bearings should share load without unintended binding (alignment matters).
When the 2:1 target can’t be met, common compensations include:
- Switching from deep groove to angular contact pair or crossed roller
- Increasing shaft diameter or housing rigidity
- Introducing a third support (where feasible) or moving the load inward
Haron Bearing Pro Tip: If you can’t get the span you want, don’t “hope it’s fine.” Upgrade stiffness via bearing architecture (paired angular contact or crossed roller) and confirm tilt at the tool center point.
How do I know which bearing I need?
Choose bearings by matching joint loads, stiffness/accuracy targets, speed, environment, and mounting limits to the right type and size. For robotic arms, prioritize stiffness and sealing to protect repeatability and maintenance life.
A selection workflow you can use for each robot joint
Follow this process per axis (base, shoulder, elbow, wrist):
- Define motion and duty: speed, oscillation angle, reversals, cycle time, temperature.
- Quantify loads: radial (Fr), axial (Fa), and moment/tilt (M) at the bearing location.
- Set accuracy targets: allowable deflection, runout, and backlash; decide on clearance vs preload.
- Choose bearing family:
- Deep groove: compact, economical
- Angular contact pair: stiffness + combined loads
- Crossed roller: maximum stiffness in a compact joint
- Pick sealing and lubrication: 2RS/low-torque seals, grease type, relube strategy (or sealed-for-life).
- Check fits and mounting: shaft/housing tolerances, shoulder heights, clamping method, alignment control.
- Verify life and torque margin: include shock factors and real duty cycle, not just steady RPM.
Common “red flags” that mean you should revisit selection:
- Motor current spikes after warm-up (preload/grease/seal torque too high)
- Repeatability drifts with temperature (fit/preload changes)
- Early noise or fretting in oscillation (lubrication regime unsuitable)
Haron Bearing Pro Tip: I ask one question before picking any bearing: “Is stiffness or low torque more important for this axis?” That single priority usually dictates angular contact/crossed roller vs deep groove, and whether we preload aggressively or keep torque minimal.
Which is better, 2RS or ZZ bearing?
2RS offers better contamination protection and grease retention, while ZZ has lower drag and better high-speed performance. For dusty or cleaned robotic arms, 2RS is safer; for clean, high-speed axes, ZZ is more efficient.
Practical selection criteria for robot joints
Choose based on environment, torque budget, and maintenance plan:
- Choose 2RS when:
- Dust/abrasive particles are present (shop floors, grinding, packaging dust)
- The joint is hard to service (sealed-for-life preferred)
- You need maximum grease retention for oscillating motion
- Choose ZZ when:
- Environment is clean and controlled
- You need lower drag torque (battery robots, small actuators)
- Speeds are higher and temperature rise must be minimized
Key trade-offs to evaluate:
- Drag torque: seals add torque, impacting motor sizing and heat.
- Ingress protection: seals outperform shields against fine particles and splash.
- Grease life: seals generally keep grease in longer during micro-motion.
- Speed/temperature: shields tolerate higher speed; seals can heat more.
Haron Bearing Pro Tip: For wrists and end-effectors, I usually start with 2RS because debris is common near the tool. If torque becomes the limiter, we test low-torque seals or move to ZZ only after confirming the environment is truly clean.
Key Features & Comparison
Compare robotic arm bearings by stiffness, preload, friction torque, sealing, and mounting tolerance sensitivity. The best choice meets accuracy and life targets at the lowest total system cost, including motor, gearbox, maintenance, and downtime.
Video Guide: This helps connect bearing type to stiffness, integration details, and practical constraints in rotary joints.
Feature-by-feature comparison for robot joint decisions
Based on our internal data and market analysis, here is the breakdown:
| Bearing Type | Best Use in Robotic Arms | Stiffness vs Moment Load | Friction Torque | Typical Sealing Options | Integration Notes |
|---|---|---|---|---|---|
| Deep Groove Ball | Light–medium loads, compact joints | Medium | Low | 2RS / ZZ | Sensitive to moment loads; may need wider spacing |
| Angular Contact (single/pair) | High axial + stiffness, preloaded joints | High (with pairing) | Medium | 2RS / shields (varies) | Back-to-back/face-to-face pairing controls tilt |
| Crossed Roller | Precision joints, high moment in tight space | Very High | Medium | Seals available | Requires rigid mounting surfaces and good alignment |
| Tapered Roller | Heavy combined loads, robust joints | High | Higher | Seals available | More torque; careful preload and thermal management |
| Needle Roller | High radial load with limited radial space | Medium | Low–Medium | Seals vary | Shaft/housing hardness and finish are critical |
Selection reminders that matter in practice:
- Stiffness isn’t just bearing type: housing rigidity and clamping dominate results.
- Preload is a system setting: temperature and fits can raise/lower it in operation.
- Sealing choice is a reliability choice: contamination drives early failure more than catalog life.
Haron Bearing Pro Tip: When two options both “meet the load,” I choose the one with higher stiffness margin and better sealing—then I optimize torque with grease selection and controlled preload rather than downgrading protection.
Cost & Buying Factors
Cost for bearings in robotic arms depends on type (deep groove vs angular contact vs crossed roller), precision grade, sealing, and whether you need matched pairs or custom preload. Buying correctly means considering total cost: motor sizing, gearbox life, maintenance access, and downtime risk, not only unit price.
Video Guide: Use the selection steps here to avoid costly over- or under-specification, especially around life, fits, and operating conditions.
What drives price—and how to buy intelligently
Main cost drivers:
- Bearing architecture: crossed roller and precision angular contact pairs cost more than deep groove.
- Precision/grade: tighter runout and dimensional control increases cost but improves repeatability.
- Seals and grease: specialty low-torque seals or robotics-grade greases add cost.
- Matching/preload: matched sets and controlled preload reduce variability in production.
- Supplier quality and traceability: consistency matters for multi-axis robot builds.
A practical buying checklist:
- Specify the joint requirement, not just the bearing number: loads, speed, stiffness/tilt limit, life target.
- Define environment: dust, splash, washdown, vacuum, temperature range.
- Standardize sizes across axes where possible: reduces inventory and qualification effort.
- Request torque and runout data: especially for wrist axes and force-controlled applications.
- Plan for assembly: tolerances, press fits, clamping, and inspection method (runout/torque checks).
Haron Bearing can support selection by aligning bearing type, sealing, and preload strategy to your axis requirements and production tolerances.
Haron Bearing Pro Tip: I recommend sampling bearings across multiple lots and measuring starting torque and radial runout before you lock a design. It’s the fastest way to de-risk repeatability issues in production robots.
Conclusion
Robotic arm performance depends on bearing selection, stiffness, preload, sealing, and mounting. Validate torque and temperature under real duty cycles, control contamination, and share axis loads, space, and repeatability targets for Haron’s bearing shortlist.