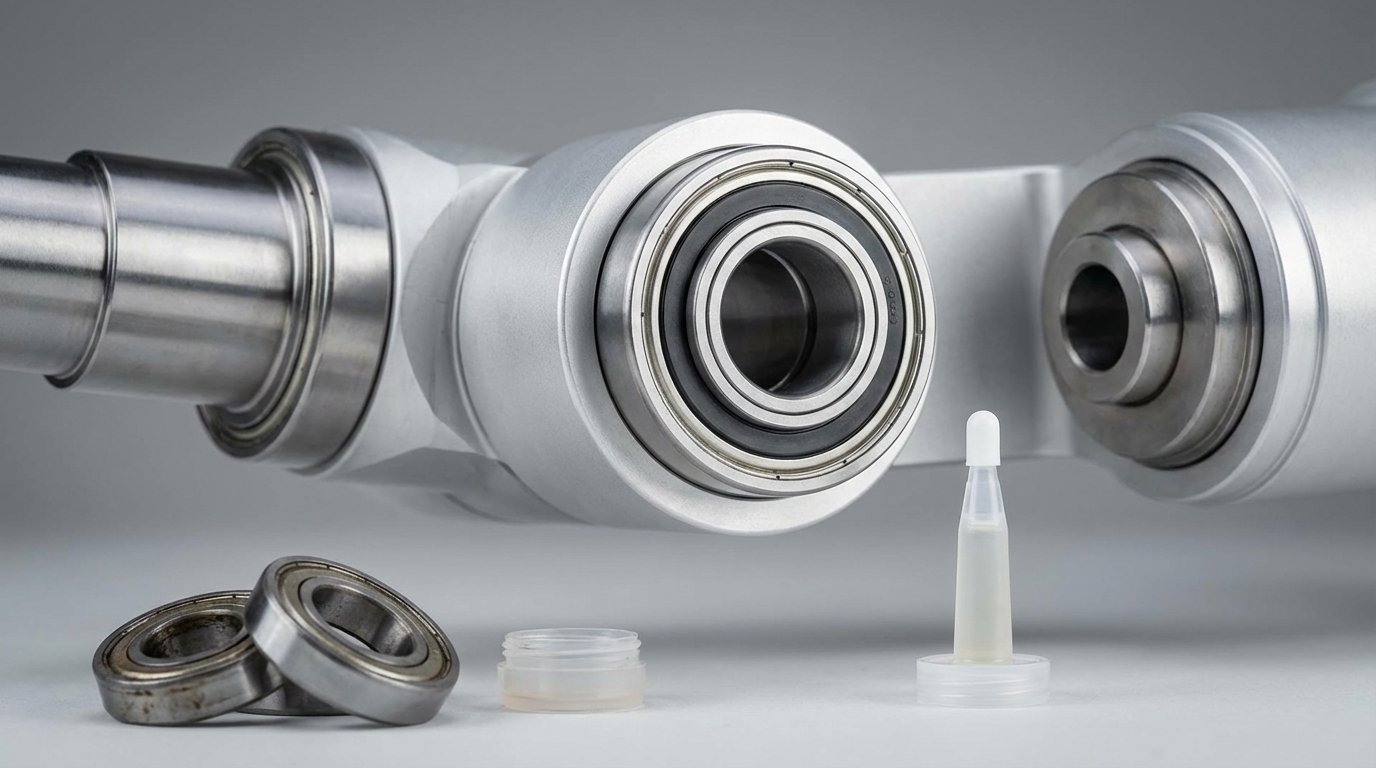
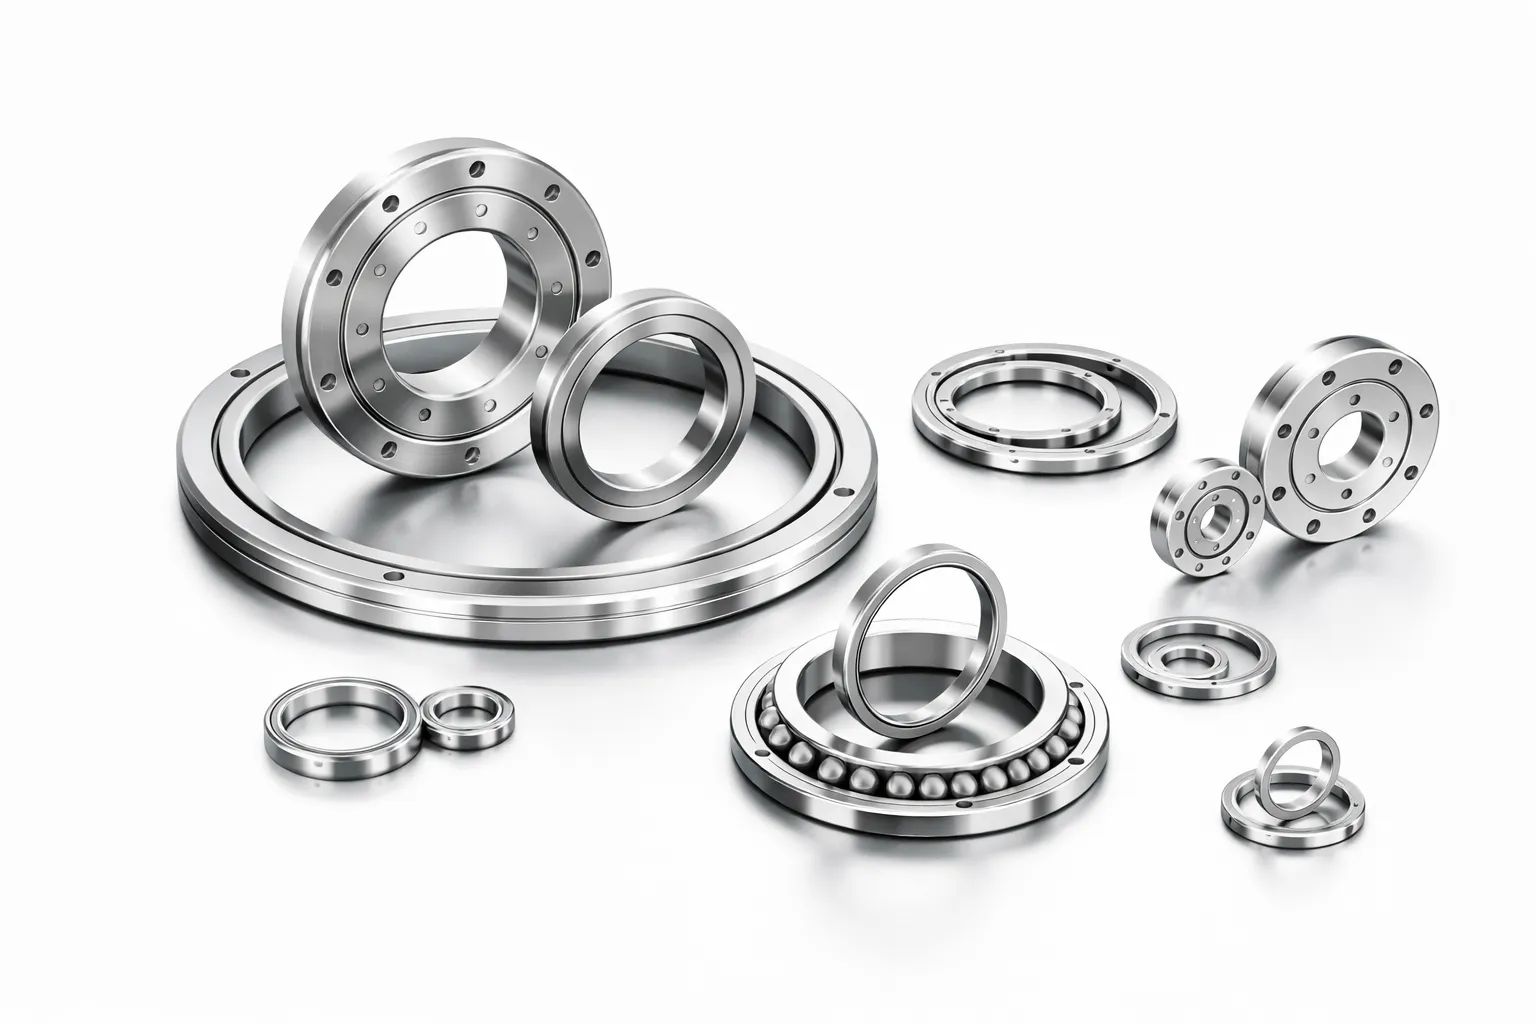
Reducing robot bearing friction and noise improves efficiency, accuracy, and service life. Choose the right bearing type, clearance, alignment, lubrication, and sealing to control heat, vibration, and contamination in compact joints.
Video Guide: This guide covers bearing selection and installation basics that directly affect friction, drag, and noise in robotics.
What is reduce friction in robot bearings / low noise robot bearings?
Reducing robot bearing friction requires proper bearing selection, preload/clearance, lubrication, and cleanliness. Low-noise bearings control vibration through surface finish, cage stability, grease choice, and contamination prevention.
Video Guide: This video explains anti-friction bearing concepts that relate to rolling resistance and smooth motion in robotics.
What “low friction” and “low noise” mean in practice
In robots, “friction” is often felt as startup torque, uneven drag, or efficiency loss, while “noise” is usually the audible symptom of vibration (often from contamination, misalignment, brinelling, or poor lubrication). Both are influenced by bearing geometry, manufacturing quality, and integration into the joint/module.
Key elements that define low noise robot bearings in real builds:
- Low starting torque for precise micro-movements and stable servo control
- Low vibration (low NRRO) to reduce chatter in arms, wrists, and gearheads
- Stable lubrication film to prevent metal-to-metal contact under mixed regimes
- Effective sealing/cleanliness to keep debris from denting raceways
Typical robot locations where low noise performance matters most:
- Harmonic/planetary gear input and output supports
- Arm joints (high torque, frequent reversal)
- End-effectors (precision, light loads, high sensitivity)
- Mobile platform wheels and idlers (continuous duty, dust exposure)
Haron Bearing Pro Tip: When a customer reports “bearing noise,” I first ask for directionality (only under load? only at certain RPM?). That single detail usually separates lubrication/shear noise from misalignment/brinelling—saving hours of guesswork.
How Does reduce friction in robot bearings / low noise robot bearings Work?
Low friction and low noise come from stable, well-lubricated rolling contact. Proper clearance/preload, alignment, smooth raceways, stable cages, and effective seals help reduce torque ripple, heat, vibration, and noise.
Video Guide: This video focuses on diagnosing and fixing noisy bearings—useful for linking noise to lubrication, contamination, and wear mechanisms.
Mechanisms that create (or eliminate) friction and noise
Bearings operate across lubrication regimes. When the lubricant film is insufficient (startup, high load, wrong grease, cold temperatures), micro-contact increases friction and generates vibration. Noise often spikes when debris dents raceways or when preload/fit causes internal stress.
Primary levers you control in a robot joint/module:
- Load zone stability: correct bearing type (deep groove vs angular contact vs crossed roller)
- Fit and alignment: housing/shaft tolerances, squareness, coaxiality
- Internal clearance & preload: too loose increases cage instability; too tight increases friction and heat
- Lubricant selection: viscosity/base oil, thickener type, bleed rate, fill ratio
- Contamination control: seals, shields, labyrinths, clean assembly process
A simple cause → effect map used in bearing troubleshooting:
- Misalignment → edge loading → vibration + heat
- Over-preload → high torque + temperature rise → grease breakdown → noise
- Particles/water → pitting/dents → cyclic noise (“growl”)
- Incorrect fit (creep) → fretting + debris generation → escalating noise
Haron Bearing Pro Tip: If your joint runs quietly no-load but gets loud under torque, I treat it as a preload/fit problem first—not a “bad bearing.” The bearing is often being distorted by the housing or clamp stack.
How to reduce bearing friction?
To reduce bearing friction, choose the right bearing type and clearance, ensure proper alignment, fits, and lubrication. Avoid excessive preload, overfilled grease, and high-drag seals. Keep contaminants out and replace brinelled or corroded bearings.
Video Guide: This video demonstrates practical friction-reduction techniques that translate well to robotics assembly and drivetrain smoothness.
Practical steps that reliably lower torque and drag
Use this workflow to systematically reduce friction in robot bearings:
- Confirm bearing selection: choose low-torque seals/shields and the correct design for combined loads (e.g., angular contact for axial + radial).
- Set clearance/preload intentionally: avoid “accidental preload” from stack-ups, clamp force, or thermal growth.
- Control fits: prevent inner/outer ring creep without excessive interference that distorts rings.
- Lubricate correctly: choose grease viscosity for speed/load; use correct fill (overfill causes churning).
- Improve alignment: use shoulders, dowels, and proper machining to avoid cocking.
- Minimize seal drag: prefer low-contact seals where contamination risk allows.
- Re-check after thermal soak: verify torque at operating temperature, not just on the bench.
Quick “friction audit” checklist (fast to run on a prototype line):
- Measure starting torque vs running torque
- Compare torque before/after fastener tightening
- Spin test with and without axial clamp load
- Thermal check after 10–15 minutes at duty RPM
Haron Bearing Pro Tip: I routinely see teams “fix” looseness by overtightening a clamp stack—then wonder why torque and current spike. If you need stiffness, use the correct bearing arrangement or preload method, not brute force.
How to reduce bearing noise?
To reduce bearing noise, control contamination, alignment, surface damage, preload, and lubrication. Use clean handling, proper sealing, and correct grease. Check seat roundness/squareness, and replace bearings with pitting, brinelling, or corrosion.
Video Guide: This diagnostic video explains why bearings become noisy, helping connect sound signatures to lubrication, damage, and contamination.
Noise reduction methods that work in real robot duty cycles
Robot bearing noise is often amplified by housings, thin plates, and gearboxes that act like speakers. Focus on both the bearing and the structure around it.
High-impact actions to reduce noise:
- Upgrade cleanliness: lint-free wipes, sealed storage, clean grease tools, no compressed-air “spinning.”
- Use appropriate seals: contact seals reduce contamination but may add drag; balance by duty environment.
- Optimize grease fill: too little increases wear/noise; too much increases churning and can also get loud.
- Avoid false brinelling: stop vibrating/transporting assemblies without rotation or with heavy static loads.
- Control installation forces: press on the correct ring; avoid impact loads that dent raceways.
Common noise signatures and likely causes:
- High-pitched whine at speed: lubricant shear/too-high viscosity or seal drag
- Low growl/rumble: contamination, brinelling, pitting
- Clicking once per revolution: localized defect on race/ball, dent from pressing or shock load
Haron Bearing Pro Tip: If you hear a “once-per-rev” tick, don’t waste time on relubrication—it’s almost always a dent or spall. Replace the bearing and fix the installation method that caused it.
What are 5 ways to reduce friction?
Five ways to reduce robot bearing friction: choose the right bearing type, set proper clearance/preload, use correct lubrication, ensure accurate alignment/fits, and prevent contamination. These reduce torque ripple, heat, wear, and noise.
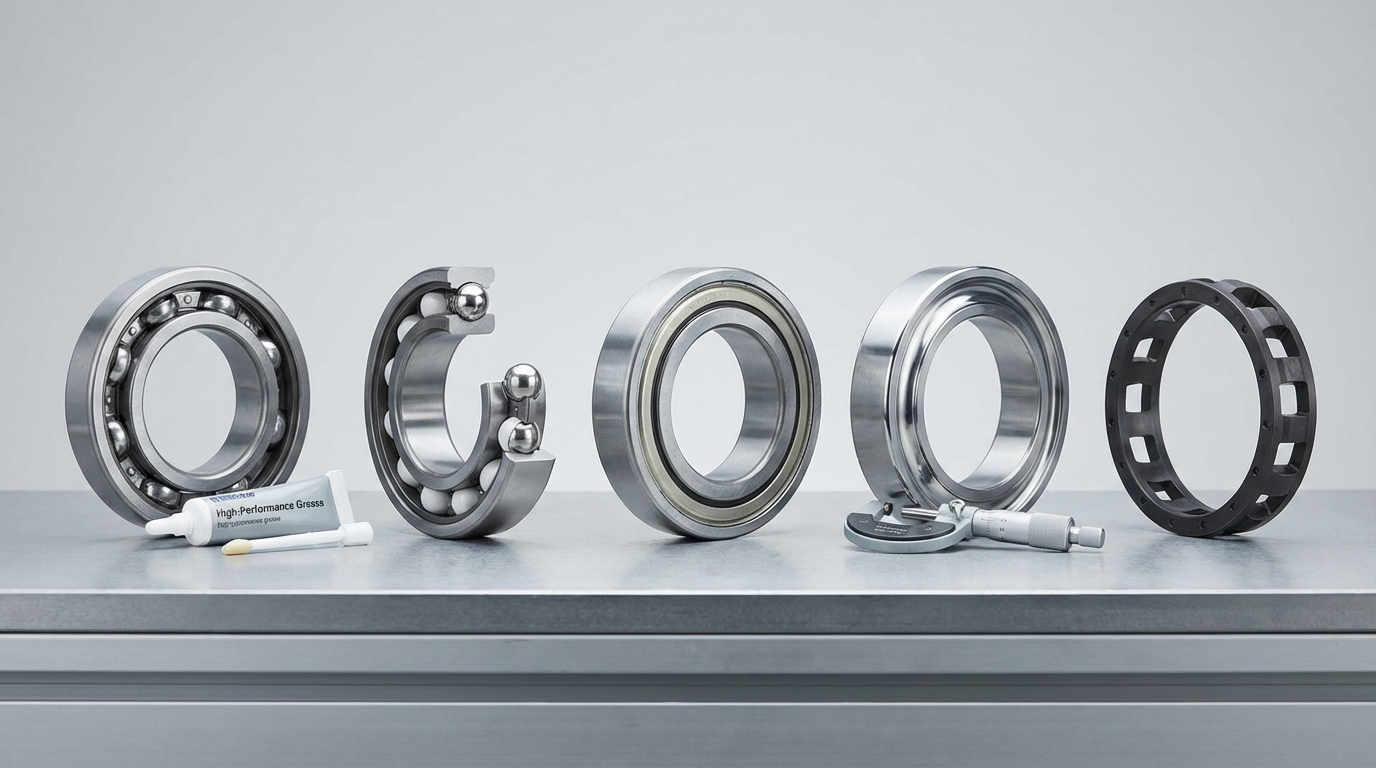
Five high-leverage friction reducers (robot-focused)
- Bearing type optimization: use angular contact or crossed roller where moment stiffness is needed without over-clamping.
- Preload/clearance control: specify it; don’t leave it to stack-up luck.
- Correct lubrication: match viscosity to speed/load; avoid overpacking.
- Alignment and geometry control: keep coaxiality and perpendicularity tight; use proper shoulders.
- Contamination prevention: seals, shields, labyrinths, and clean handling procedures.
Optional “6th lever” when performance is extreme:
- Material/coating upgrades (hybrids, ceramic balls, optimized raceway finishes) to reduce wear and vibration in high-speed or sensitive axes.
Haron Bearing Pro Tip: In my experience, teams chase exotic bearings too early—then find the real issue was housing misalignment or grease overfill. Fix the integration first; it delivers the biggest friction drop per dollar.
Key Features & Comparison
Choose low-noise robot bearings by matching load, stiffness, seal drag, lubrication, and cleanliness to the joint’s duty. Compare friction torque, noise/vibration, and contamination resistance—not just static load ratings.
Feature comparison for common robot bearing choices
Based on our internal data and market analysis, here is the breakdown:
| Bearing Option | Friction Potential | Noise Potential | Stiffness / Moment Support | Contamination Tolerance | Typical Robot Use Case |
|---|---|---|---|---|---|
| Deep Groove Ball (shielded/low-drag seal) | Low | Low–Medium | Medium | Medium | Wheels, idlers, light joint supports |
| Angular Contact Pair (preloaded) | Medium | Low (when aligned) | High | Medium | Arm joints, gear output supports |
| Crossed Roller Bearing | Medium | Low | Very High | Low–Medium | Precision joints, wrists, turntables |
| Tapered Roller Bearing | Medium–High | Medium | High | Medium | High radial/axial load pivots (space permitting) |
| Hybrid Ceramic Ball (in ball bearing form) | Low | Low | Medium | Medium | High speed, low heat, sensitive axes |
Selection notes that prevent surprises:
- Low-contact seals reduce drag but need cleaner environments.
- Preloaded arrangements boost stiffness but can raise torque if misaligned.
- Crossed roller bearings need excellent sealing and careful installation to stay quiet.
Haron Bearing Pro Tip: When stiffness is the goal, I prefer a bearing arrangement designed for preload over “crushing” a standard bearing with clamp force. You’ll get stiffness without unpredictable friction and noise.
Cost & Buying Factors
Bearing cost depends on precision grade, noise/vibration class, sealing, material, and preload control. Define speed, duty cycle, loads, contamination, torque, and noise limits before selecting low-noise robot bearings.
What to specify to purchase the right bearing (and avoid rework)
Key buying factors to include on a robot bearing RFQ (or internal BOM spec):
- Operating profile: RPM range, reversals, duty cycle, temperature
- Loads: radial, axial, moment, shock events
- Stiffness requirement: allowable deflection/backlash targets
- Noise target: qualitative (“quiet lab robot”) or quantitative (vibration class/NRRO)
- Seal strategy: open/shielded/contact seal; environment dust/water exposure
- Lubrication: grease type, low-outgassing needs, relube interval
- Fits/preload intent: shaft/housing tolerances, preload method, thermal growth assumptions
Common cost tiers (relative, for budgeting):
- Standard industrial bearing: lowest cost, variable noise performance depending on integration
- Low-noise/controlled vibration bearing: mid cost, better consistency for precision joints
- Precision bearing with controlled preload options: higher cost, best for accuracy and smoothness
Haron Bearing can support selection by translating your joint requirements into a bearing recommendation (type, clearance/preload, sealing, lubrication).
Haron Bearing Pro Tip: If you can’t quantify noise, quantify torque. In practice, a torque target plus your speed/load profile is enough for us to narrow to a low-friction, low noise robot bearing configuration quickly.
Conclusion
Reducing robot bearing friction and noise requires proper selection, preload/clearance control, accurate fits, alignment, lubrication, and contamination protection. Share your load, speed, environment, and torque/noise targets for a suitable Haron solution.