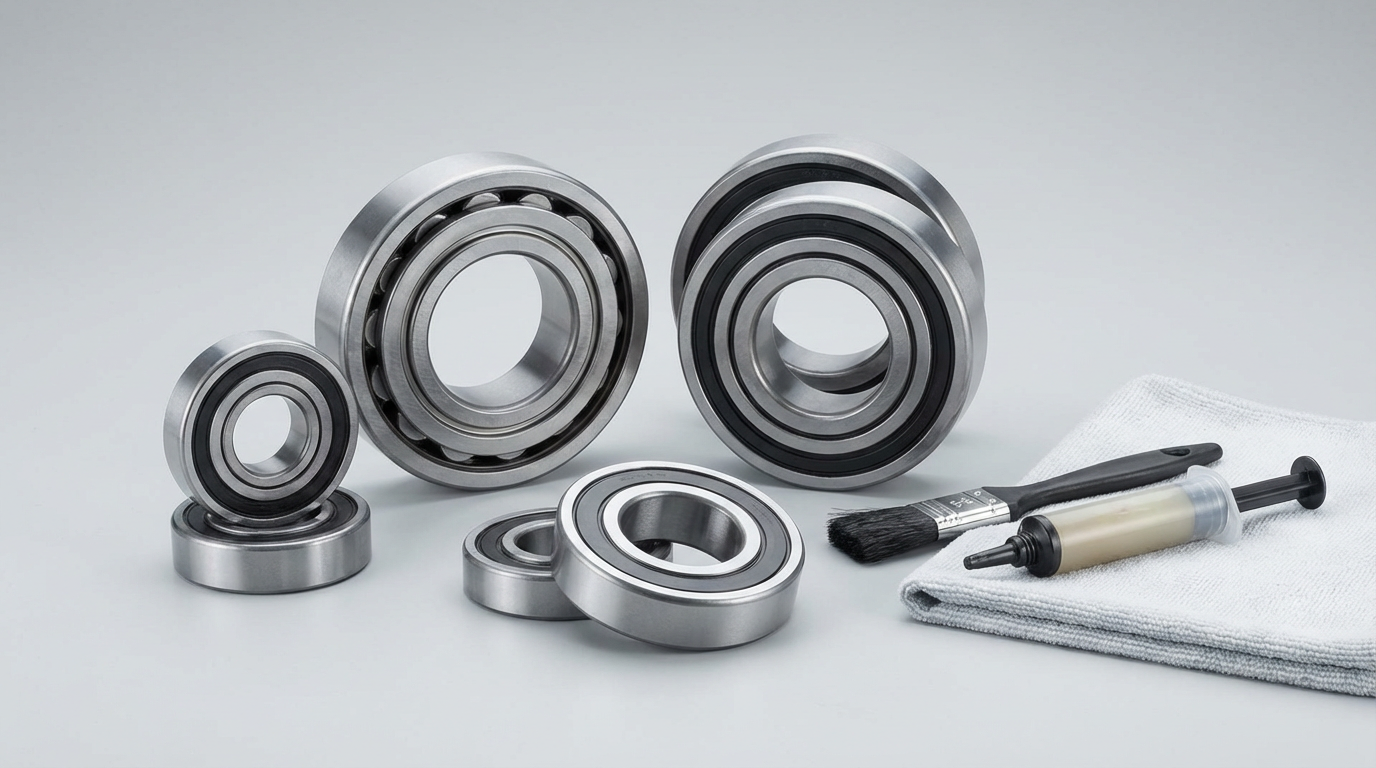
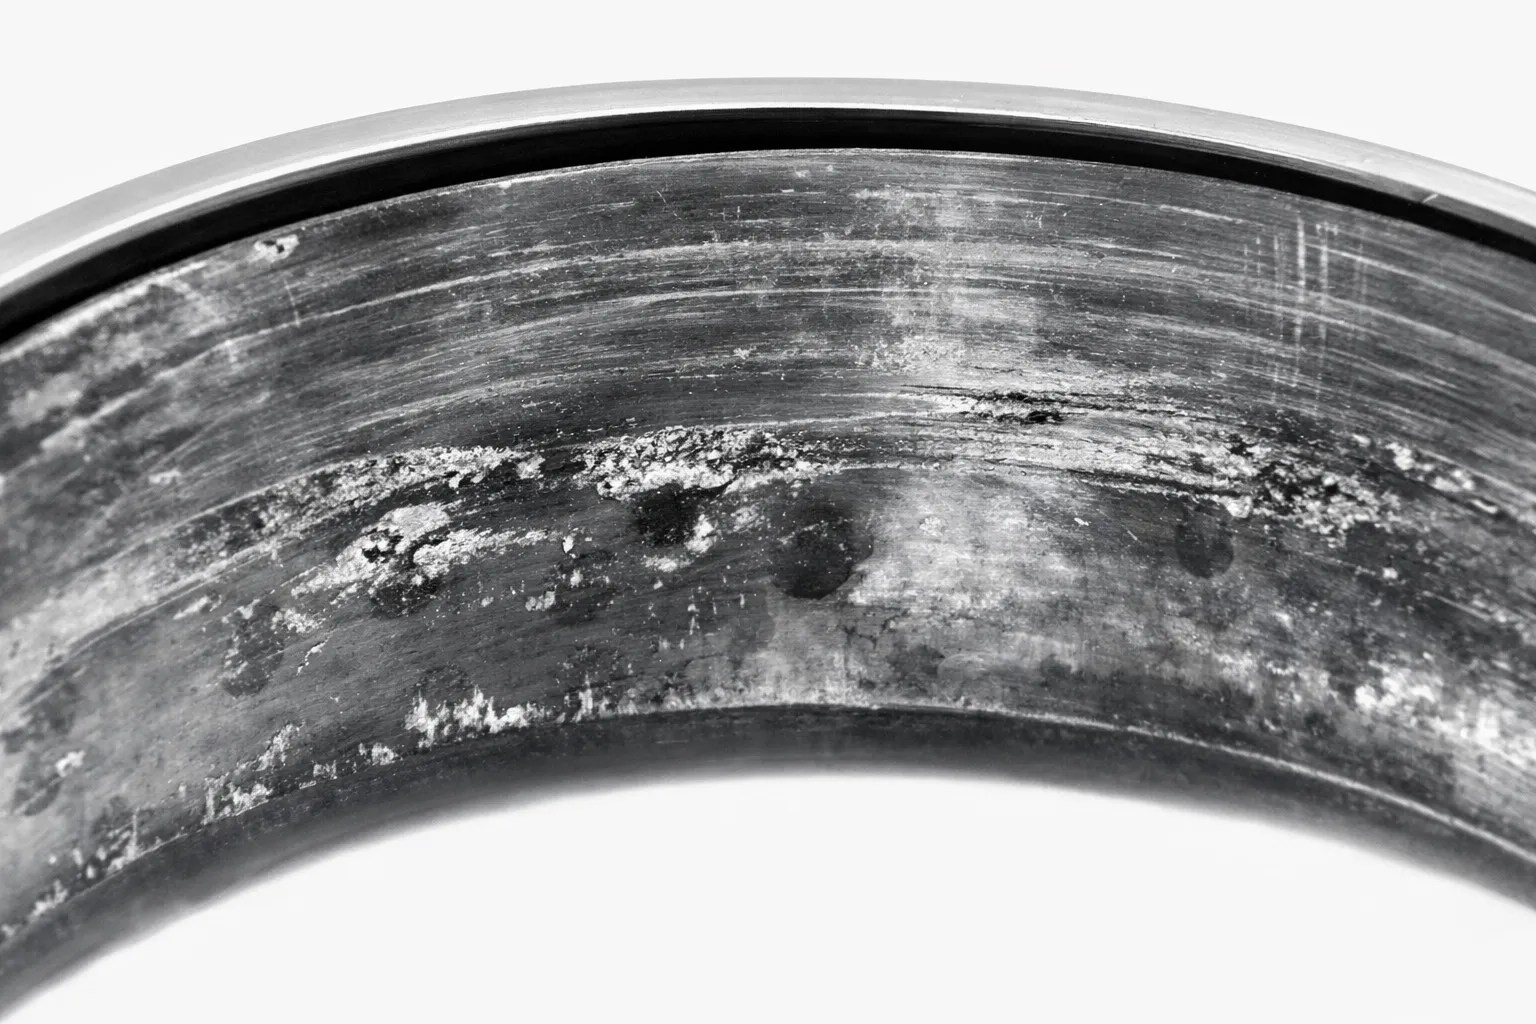
Robot bearing failures often cause unplanned downtime due to load, speed, heat, and contamination. Most are preventable with proper selection, installation, lubrication, and monitoring. This guide explains key failure modes and prevention steps.
Video Guide: Use this overview to connect common bearing damage patterns to their underlying causes before you define a prevention plan for your robots.
What is robot bearing failures?
Robot bearing failures are damage or performance loss in joints, gearboxes, motors, or end-effectors, causing noise, heat, vibration, inaccuracy, or seizure. Common causes include fatigue spalling, poor lubrication,contamination wear, corrosion, and installation damage.
Video Guide: Watch for how everyday operating conditions (load, lubrication, contamination) translate into recognizable failure modes that also apply to robot joints and drives.
Failure modes you’ll see in robot axes and drives
Robot bearings are often compact, highly loaded, and exposed to frequent starts/stops, reversing loads, and micro-motion—so small problems accelerate quickly.
Common robot bearing failures and what they typically look like:
- Fatigue spalling (rolling contact fatigue): flaking on raceways; rising vibration at characteristic frequencies
- Abrasive wear (contamination): dull raceways, widened clearances, “gritty” rotation
- Smearing/scuffing (poor film or rapid acceleration): smeared metal, discoloration, sudden noise increase
- False brinelling/fretting (micro-oscillation): evenly spaced marks at rolling element pitch; red/brown debris
- Corrosion (water/chemical ingress): etching, pitting, rust staining
- Overheating (lubrication/overload/misalignment): darkened grease, softened seals, reduced hardness
- Electrical erosion (servo/motor bearings): fluting patterns, high-frequency noise, premature spalling
A quick “symptom-to-cause” triage helps shorten diagnostics:
| Symptom in the robot | What it often indicates | What to check first |
|---|---|---|
| Increased joint torque/current draw | Lubrication starvation, contamination, preload error | Grease condition, seal integrity, mounting fit |
| Positional repeatability drifts | Clearance increase from wear/spalling | Backlash, vibration spectrum, temperature trend |
| High-pitched noise at certain speeds | Raceway damage or electrical fluting | Acoustic/vibration peaks, grounding/insulation |
| Localized heat near joint | Overload, misalignment, over-preload | Alignment, torque specs, grease quantity |
| Periodic vibration pattern | Fatigue spalling | FFT vs bearing defect frequencies |
Haron Bearing Pro Tip: When a robot “just gets louder,” don’t wait for failure—log temperature and motor current per axis. Those two trends often reveal lubrication breakdown or rising friction weeks before vibration becomes obvious.
How Does robot bearing failures Work?
Robot bearing failures often start from wrong selection, contamination, poor lubrication, misalignment, or electrical current. These increase wear, heat, clearance, and vibration, leading to precision loss or seizure. Monitor current, temperature, and vibration.
Video Guide: Use the analysis approach shown here—symptom, surface evidence, and operating context—to map how a robot bearing progresses from early distress to catastrophic failure.
The failure progression from “root cause” to downtime
Robot bearings usually don’t “snap”—they degrade in stages. Understanding the stage helps you choose the right intervention (re-lube, re-install, redesign, or replace).
Typical progression:
- Initiation: contamination ingress, grease mismatch, preload error, shaft/housing fit issues, or stray currents start micro-damage.
- Film collapse: lubricant thins (heat), depletes (wrong interval), or is displaced (high acceleration), allowing metal contact.
- Surface distress: micro-pitting, smearing, fretting, or corrosion begins; debris circulates and acts as abrasive.
- Geometry change: increased clearance or localized high spots alter load distribution, increasing torque and heating.
- Fatigue propagation: spalls grow; vibration increases sharply; precision and repeatability degrade.
- Functional failure: excessive backlash, overheating alarms, encoder instability, or seizure halts production.
Use this checklist to connect causes to mechanisms:
- Selection errors: insufficient dynamic load rating, wrong internal clearance/preload, wrong grease for speed/temperature
- Mounting errors: brinelling from press force through rolling elements, misalignment, distorted housings
- Environment: washdown, coolant mist, metal dust, welding fumes, or chemical vapors attacking seals/grease
- Controls/electrical: PWM drives and grounding paths causing bearing currents in motor-supported robot axes
Haron Bearing Pro Tip: If you see repeat failures on the same axis, assume a systemic cause (fit, preload, sealing, or current path)—replacing the bearing alone is rarely the real fix.
What are the benefits of robot bearing failures?
Understanding robot bearing failures reduces downtime, improves accuracy, extends lubrication intervals, and lowers spare-part use. Linking heat, torque, vibration, and noise to failure modes enables planned maintenance and protects key components.
Video Guide: Use this prevention-focused walkthrough to translate failure evidence into corrective actions such as lubrication, sealing, alignment, and installation improvements.
What you gain by managing failures proactively
When you treat failure modes as “signals,” you can improve reliability without over-maintaining.
Key benefits and how they show up on the floor:
- Reduced downtime: planned bearing swaps scheduled with production windows
- Lower total cost: fewer secondary damages (gears, seals, housings, encoders)
- Stable precision: consistent preload/clearance keeps repeatability in spec
- Safer operation: fewer overheating events and seizure risks
- Faster troubleshooting: standardized symptom-to-mode mapping shortens diagnosis time
A practical KPI set to track:
| KPI | Why it matters for robots | Typical data source |
|---|---|---|
| Axis motor current/torque trend | Proxy for rising friction | Servo drive logs |
| Joint temperature trend | Flags lubrication/seal issues | IR gun, thermal sensors |
| Vibration velocity/acceleration | Detects spalls and looseness | Portable analyzer |
| Grease condition at service | Confirms contamination/overheat | Visual + lab test (optional) |
| Repeatability/backlash checks | Ties bearing health to accuracy | Robot calibration routine |
Haron Bearing Pro Tip: Tie bearing health to one production-facing metric (scrap rate, cycle time, or repeatability). Reliability improvements get funded faster when they’re linked to quality and throughput.
How to maintain a robot bearing failures?
Prevent robot bearing failures through proper bearing/grease selection, contamination control, precise installation, and condition-based maintenance. Poor lubrication and contamination are common but avoidable early-failure causes.
Video Guide: Use this selection-focused guide to understand how load, speed, and application context drive bearing choice—often the first step in preventing repeat robot failures.
A maintenance playbook that prevents repeat failures
Use a repeatable procedure so results don’t depend on individual technician habits.
Preventive maintenance steps:
- Confirm selection and fits: verify load ratings, internal clearance/preload, shaft/housing tolerances, and thermal growth assumptions.
- Control cleanliness: keep bearings sealed until install; clean tools; prevent dust/metal chips near open housings.
- Install correctly: apply press force on the correct ring; avoid hammering; confirm alignment and runout.
- Lubricate with intent: correct grease type (base oil viscosity, thickener compatibility), correct quantity, and correct interval.
- Protect against ingress: inspect seals, cable routing, and joint covers; address washdown exposure with appropriate sealing.
- Mitigate electrical damage (if applicable): verify grounding, consider insulated bearings or shaft grounding solutions on motor-bearing locations.
- Trend condition indicators: log axis current, temperature, and vibration at consistent speeds and loads.
- Perform failure feedback: photograph damage, retain parts, and record operating context to prevent recurrence.
Common maintenance mistakes to avoid:
- Mixing incompatible greases during top-up
- Over-greasing high-speed joints (causes churning and heat)
- Using solvent that attacks seals or removes grease from protected areas
- Installing with force transmitted through rolling elements (brinelling risk)
Haron Bearing Pro Tip: Standardize grease by robot family and axis speed range, then lock it in with color-coded grease guns and fittings. Grease mixing is one of the fastest ways to “mystery-fail” a good bearing.
What is the price of robot bearing failures?
Robot bearing failure costs include labor, downtime, lost output, collateral damage, and accuracy-related quality losses. Costs vary by axis and production criticality, but unplanned downtime is usually the biggest driver.
Video Guide: Use this motor-bearing failure overview to understand hidden cost drivers like secondary damage and avoidable maintenance errors that often translate directly to robot downtime.
Cost elements to include in your business case
Capture total cost of ownership (TCO) so prevention measures can be justified.
Based on our internal data and market analysis, here is the breakdown:
| Cost element | What it includes | Why it spikes during unplanned failure |
|---|---|---|
| Parts | Bearing, seals, grease, fasteners | Rush orders, higher-grade substitutes |
| Labor | Diagnosis, teardown, reassembly, calibration | Overtime and longer troubleshooting |
| Downtime | Lost production time | Line stoppage, missed delivery windows |
| Quality loss | Scrap, rework, inspection | Accuracy drift before hard failure |
| Collateral damage | Shaft/housing repair, gearbox or motor damage | Debris and heat propagate damage |
| Verification | Repeatability checks, trial runs | Required to restore process capability |
Cost-reduction levers:
- Keep critical spares for high-impact axes
- Use condition monitoring to convert surprises into scheduled work
- Implement installation QA (fits, torque, runout) to prevent early-life failures
Haron Bearing Pro Tip: When estimating ROI, multiply “minutes of downtime” by the true line cost (labor + overhead + missed throughput). The bearing price is usually the smallest number on the page.
Key Features & Comparison
Prevent robot bearing failures by matching design, protection, lubrication, and monitoring to speed, duty cycle, load reversals, and environment. Compare stiffness, sealing, grease strategy, and electrical protection to avoid repeat issues.
Video Guide: Use this failure analysis primer to align observed damage (wear, spalling, corrosion) with design choices such as sealing, lubrication, and bearing type.
Comparing bearing solutions for common robot duty conditions
Based on our internal data and market analysis, here is the breakdown:
| Option | Best fit in robots | Strengths | Trade-offs | Typical failure risks if misapplied |
|---|---|---|---|---|
| Deep groove ball bearing | Motors, moderate radial loads | Low friction, high speed | Lower axial capacity | Smearing at rapid accel; electrical fluting in motors |
| Angular contact ball bearing | Joints needing stiffness/axial load | High stiffness, axial control | Sensitive to preload/misalignment | Overheating, early spalling from preload error |
| Crossed roller bearing | High-precision robot joints | Very high rigidity, compact | Higher cost; contamination sensitive | Abrasive wear from ingress; false brinelling in micro-motion |
| Cylindrical roller bearing | High radial loads | High radial capacity | Limited axial capability | Edge loading from misalignment |
| Sealed/shielded variants | Dust/coolant exposure | Better contamination control | Higher friction/temperature | Heat rise if over-greased or at high speed |
| Insulated/ceramic hybrid (motor locations) | Servo/motor bearing current risk | Electrical damage mitigation | Cost, handling requirements | Mechanical damage if fits/installation are poor |
Haron Bearing Pro Tip: Don’t “upgrade” to higher-stiffness bearings without revalidating preload and thermal growth—stiffness gains can turn into heat and early fatigue if the stack-up isn’t recalculated.
Cost & Buying Factors
Robot bearing purchasing should focus on failure risk, not unit price. Define duty cycle, environment, accuracy, sealing, lubrication, and electrical protection needs so Haron Bearing can recommend the right solution.
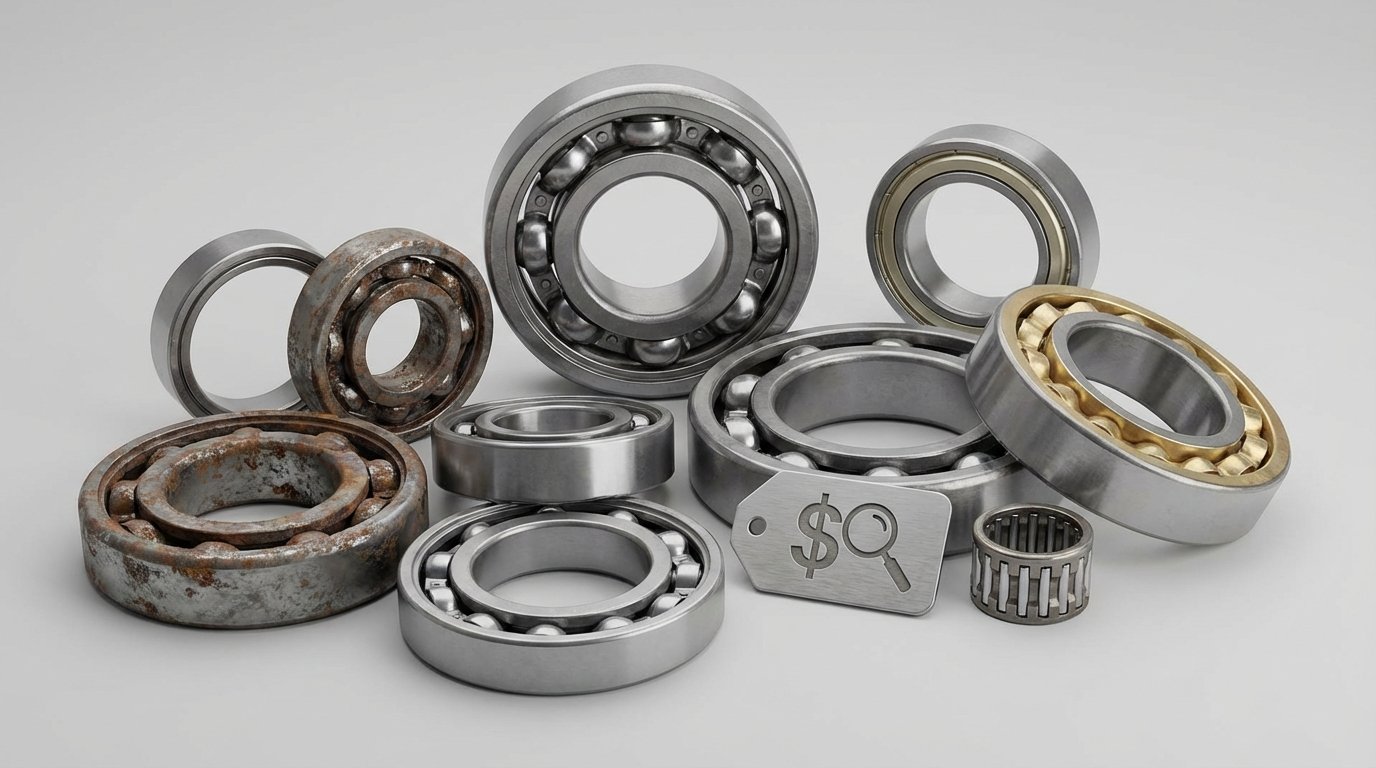
Key buying factors to standardize:
- Load and stiffness needs: dynamic/static ratings, moment load capacity, deflection targets
- Speed and temperature window: grease base oil viscosity, thickener type, DN value suitability
- Sealing strategy: contact seals vs non-contact; shield options; labyrinth features
- Fits and tolerances: shaft/housing grades, roundness, surface finish
- Accuracy class: runout and precision grade aligned to repeatability needs
- Electrical environment (motor bearings): grounding, insulation, hybrid options
- Service model: availability of spares, lead times, documentation, failure analysis support
Haron Bearing Pro Tip: Ask your supplier to recommend the bearing and the installation/lubrication specification as a package. Many “bad bearings” are actually good bearings installed into a bad system.
Conclusion
Robot bearing failures can be prevented through proper selection, sealing, lubrication, installation, and monitoring. Standardize grease and assembly, control contamination, and track current/temperature. Haron can help review failures and provide solutions.